How to Take Before and After Photos for Weight Loss

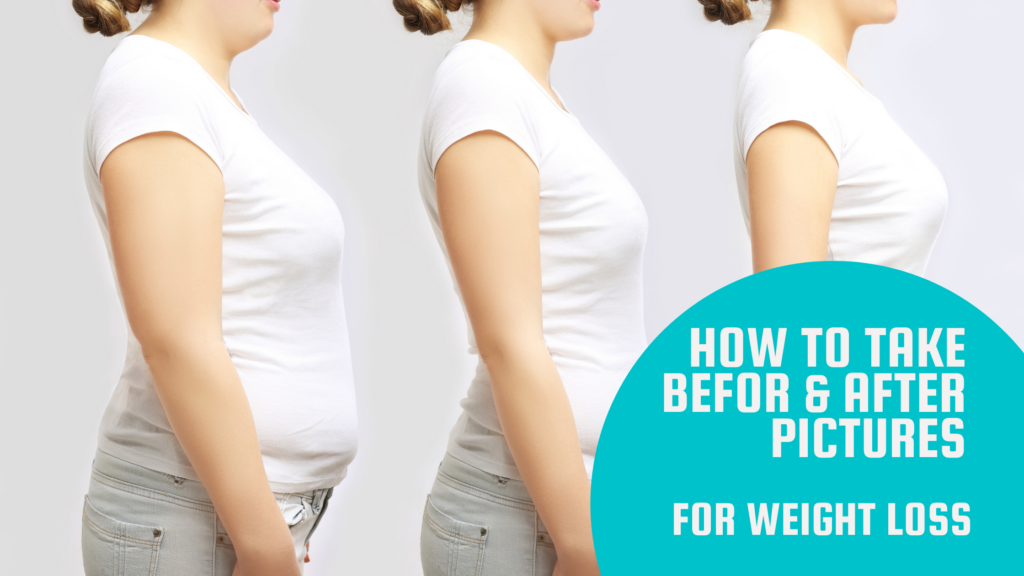
When it comes to weight loss and bodybuilding people love seeing results. The most inspiring stories by far are the ones where we get to see huge transformations that showcase peoples starting point and their results after dedicating themselves to fitness over a consistent period of time. Having said that, before and after photos are both a powerful and excellent visual indicator that can single handedly inspire millions around the world to start their fitness journey. Although some weight loss clients might get happy seeing small changes on the scale or reduced measurements overtime, nothing screams achievement more than finally seeing a slimmer and fitter you. At the end of the day what we really want is to look slimmer, fitter and more toned – and there are only two ways we can measure that: by receiving compliments, and by taking progress photos. Having said that, in this brief article we will go over the essential steps to take good quality before and after weight loss photos to track your progress. Let’s get started!
Setup a Consistent Backdrop, Lighting, and Time of Day

When it comes to taking quality before and after photos make sure that you set up your atmosphere in the exact same way to really see changes that are authentic. Factors like certain backdrops and lighting can make a HUGE difference in your appearance at the time of taking a photo. As a result, make sure you are consistent with your photos by choosing a consistent background and using the same lighting for all your photos to avoid over or under exaggerating your weight loss progress. Ideally, it’s also recommended to take your photos at the start of the day after your morning routine and prior to eating your first meal. This ensures that you get the most accurate photos to document your journey.
Snapshot your Body From Multiple Angles
In addition to having a consistent environment to take your photos in, make sure to capture your photo progress in multiple angles and poses. If you aren’t sure what poses to do I recommend the following:
- Front Double Bicep
- Back Double Bicep
- Side Chest and Tricep (Both Sides)
In terms of abs, you can either flex or un-flex them during your photos. Either way make sure that you choose one and stay consistent.
Take Your Photos Consistently & Set Reminders

After you set up your environment and take your shots, make sure to store your photos in a safe place. Preferably an application folder or in a separate fitness folder on your computer. Make sure to label the subfolders with the dates you took your photos and aim to take photos on a set schedule. Whether that be daily, weekly or monthly, make sure to set reminders on your phone to ensure that you stay consistent with your progress photos and progress measurements.
Don’t Over Analyze Your Photos and Don’t Give Up

Lastly, when it comes to taking before and after photos always make sure to not be so hard on yourself. Fitness is a life-long journey and changing your body takes time. As a result, make sure to utilize your photos as a source of motivation and realize that as long as you are consistent with your meal prep and training that results will come and will eventually start to show. All in all, learn to fall in love and appreciate the process of your weight loss journey and try avoiding only prioritizing results.
Conclusion - How to Take Before and After Photos for Weight Loss
All in all, before and after photos are a great way to help you track your fitness journey and progress. As a result make sure to be consistent with all aspects of your photo-taking by ensuring that your environment, lighting, timing, and poses are consistent. Additionally, make sure that you are consistent with your training and dieting to ensure that you see results over time. If you need help staying accountable, you can always contact me and I would love to help you on your transformation journey. If you are interested in a weight loss coach click here and I would be happy to help you out!


